Photoshop layers are like sheets of stacked acetate. You can see through transparent areas of a layer to the layers below. You move a layer toposition the content on the layer, like sliding a sheet of acetate in a stack. You can also change the opacity of a layer to make content partially transparent.
Layers allow us to work on separate images in order to modify sections without changing the entire image.
Now, I am going to show how can we work with layers.
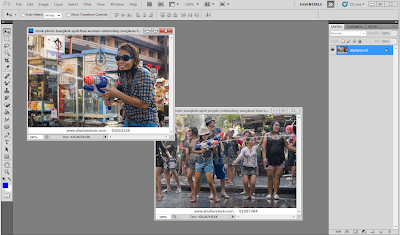
At first, open two images you prefer to work. Open them in separate tab as shown below.
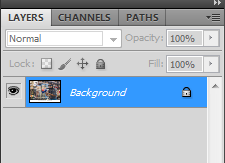
We can name the layers. Double-click on the word Background shown.
After this, a box will be show at the workspace. We can set the name, color and mode depend on ourselves that prefer.
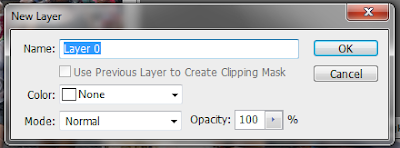
I decide to name the first layer as 'Woman 1'.
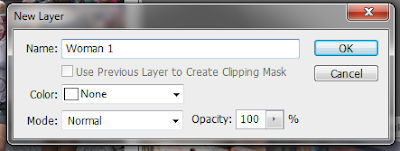
Click ok, and the word will appeared as shown at below.
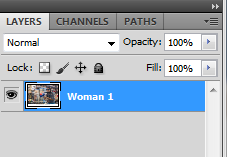
Now, I want to drag my second image into the first image (Woman 1).
But, how to drag ???
First, select the Move Tool.

After select, click on the second image without release your mouse and drag it into the first image (Woman 1). As you can see, the second image is already move into the first image and another layer shown.
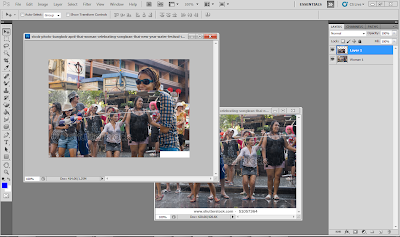
Close the second image, and focus on the combined image as shown.
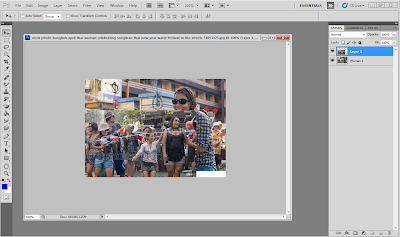
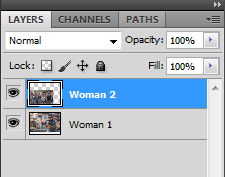
As you can see, the Layer 1 is sitting on top of the layer Woman 1. Then, repeat the same steps as shown above to rename the new layer. Double-click on the word Layer 1 and give it a much more useful name.
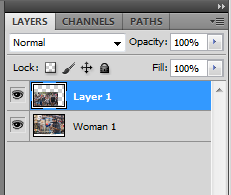
The new layer named as 'Woman 2' as shown below.
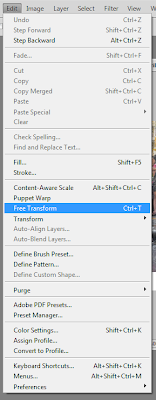
Since the layer Woman 2 is too big to live inside the layer Woman 1, click on Edit > Free Transform (Ctrl+T for shortcut).
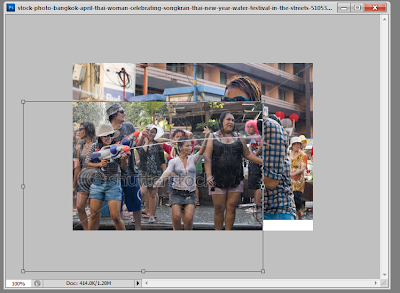
And next, this will be shown at the layer Woman 2.(A box around the layer) We can start to resize the image we want.
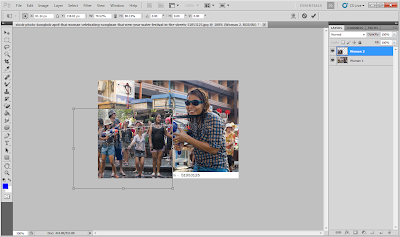
Now, we can start to work on our photo and change the image back to full screen mode, easier for us to work on it.
Click on Add Layer Mask and this will be shown at the layer Woman 1.

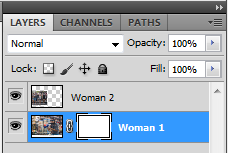
Select Gradient Tool to change the opacity of your image which is the layer Woman 1.

Next, click on the way you prefer the change of opacity on your image as shown. I prefer to change the opacity from left to right.
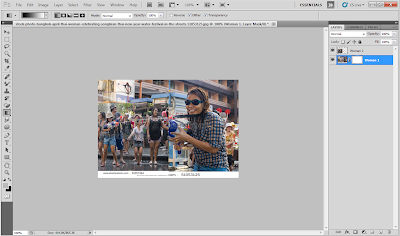
This will be shown after the changed.
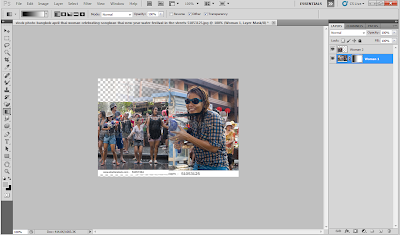
Then, open a new layer to create the background of your image.
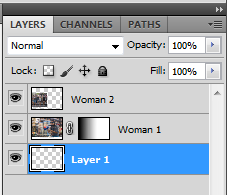
Change the name of Layer 1 to Background. So, we will clearly know that which is the layer use for, and we will not get confuse on it.
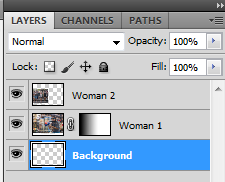
Select Paint Bucket Tool to paint the color that you prefer on the new layer. I prefer to paint it in white color as it will show out the layer Woman 2 clearly and this color is much suitable and better than other colors. Therefore, I decide to use white color as well.

Finally, there is the result of my image.
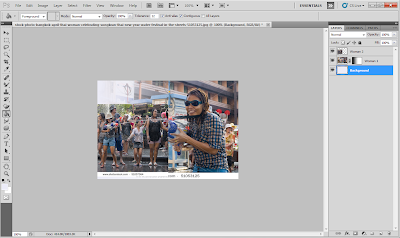
This is what I learn about the layers. Hope you guys can catch up what I had post it here.
And here are some guides~
Hope you guys enjoy while watching^^
First video:
Another video:
Hope you guys can learn some from these video.
Enjoy~^^

No comments:
Post a Comment